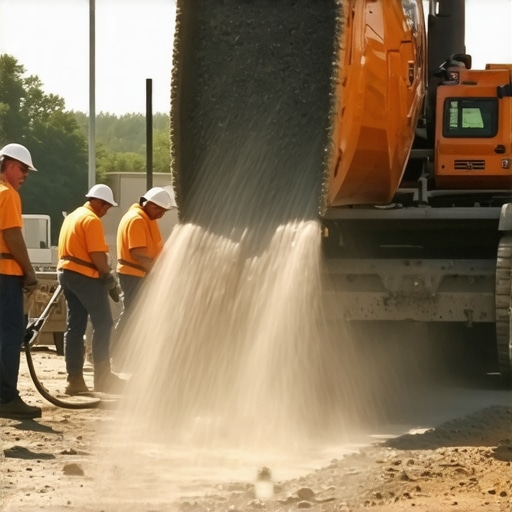
Why Your Concrete Pour Might Need a Hot Weather Additive Charge
I remember the scorching summer day when my latest concrete pour turned into a nightmare. The heat was relentless, and I didn’t think much about how it could impact my project until I saw that cracking surface emerge just days after it cured. That lightbulb moment made me realize: in hot weather, your concrete isn’t just fighting the contractor’s schedule—it’s battling the sun itself.
Surviving the Heat: Why Hot Weather Matters for Concrete
If you’ve ever worked on a home addition or a new build, you know that timing and materials are everything. But what often catches homeowners and even some builders off guard is how extreme weather conditions, especially heat, can sabotage the strength and longevity of your concrete. I learned this lesson early on when my pour cracked and needed costly repairs—not exactly the kind of surprise you want during a renovation. The big takeaway? When the temperature rises above 85°F (29°C), concrete needs extra care—sometimes even a special hot weather additive charge—to ensure it cures properly and maintains its integrity. This isn’t just about comfort; it’s about durability, safety, and saving money long-term. In fact, the Federal Highway Administration emphasizes that hot weather can cause rapid evaporation of moisture, leading to shrinkage cracks and compromised durability. I want to walk you through the crucial reasons why you should consider a hot weather additive charge for your concrete, especially if you’re planning projects during summer’s peak. By understanding these factors, you’ll be better equipped to prevent costly mistakes and delays, making your build smoother and more reliable. Ready to dig deeper into the science and solutions? Let’s explore how this simple additive can make all the difference for your project’s success.
Prepare the Mix in Advance
Start by ordering your hot weather additive along with your concrete mix. I once ordered from a local supplier a day before a scorching summer pour, which gave me ample time to verify the additive’s compatibility and ensure it was on-site. This proactive step prevents delays and surprises on execution day.
Calculate the Correct Dosage
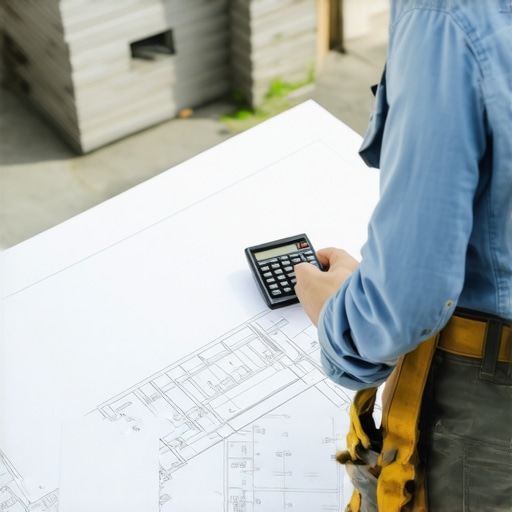
Use the manufacturer’s guidelines to determine the right amount of additive for your project volume. For example, when I worked on a 10-yard pour last summer, I referenced the estimating guide and adjusted the additive proportion accordingly, resulting in better curing and fewer cracks.
Adjust Water Content Carefully
Reduce water slightly to compensate for the additive’s moisture-retaining properties. I learned this the hard way when I added too much water, which compromised the mix’s strength. The trick is to measure water precisely—never eyeball it. Think of it like seasoning a recipe: a little less salt often yields better flavor, or in this case, better curing.
Mix Thoroughly and Quickly
Combine the dry mix, additive, and water rapidly to ensure even distribution. During my project, I used a forced mixer to blend everything for at least 3 minutes. This ensures the additive disperses uniformly, preventing weak spots. Remember, the more thoroughly you mix, the more predictable your curing process will be.
Implement Proper Placement Techniques
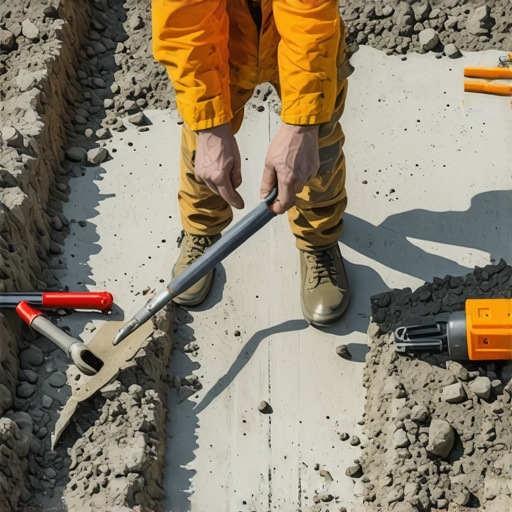
Pour the concrete promptly after mixing to avoid premature setting. Use vibrator tools to eliminate air pockets and ensure compaction. I once tried pouring concrete into a basement footer during a hot afternoon—promptness and vibration prevented surface cracking and fold-overs, maintaining structural integrity.
Control Curing Conditions Aggressively
Cover the fresh pour with plastic sheeting or damp cloths and keep the surface moist. I recommend applying water multiple times a day for the first 7 days, especially in high temperatures. I once wrapped a pour with burlap and misted it regularly, which markedly improved strength and minimized cracks, prolonging the structure’s lifespan.
Monitor and Adjust as Needed
Use temperature and humidity gauges to observe curing conditions. If the weather turns hotter, consider additional measures like shading or early watering. During a recent project, I set up fans and sprayed water during peak heat, which kept the mix within optimal curing temperatures, avoiding brittle surfaces or early cracking.
Following these precise steps, using proper materials, and paying attention to environmental conditions can dramatically improve your concrete’s durability during hot weather. Incorporating the right additive isn’t just a tweak; it’s a pivotal factor that ensures your project withstands time and weather. For more detailed guidance on estimating costs and selecting materials, check out the estimating resources.
Many homeowners and builders underestimate the nuanced complexities behind estimating, permitting, and executing home additions or new constructions. One prevailing myth is that straightforward measurements and fixed costs suffice for accurate budgeting. In reality, this overlooks variables such as site-specific conditions, permit intricacies, and hidden regulatory hurdles. For instance, assuming that a standard permit process applies uniformly can lead to costly delays; certain jurisdictions require detailed plans, environmental reviews, or even neighbor consultations that are often overlooked. A common mistake is that people treat permits as mere formalities rather than essential safeguards that ensure compliance and project validity. Missing or misjudging permit requirements can mean encountering stop-work orders or fines, which drastically inflate costs and timeline—details that are well documented in guides like navigating permit requirements.
Advanced project estimations often involve a deep dive into materials, labor rates, and unexpected contingencies. However, many skip the critical step of verifying if their estimates include site-specific factors like soil quality, access limitations, or existing utility conflicts. This oversight can cause budget overruns, and as noted in estimation guides, inaccurate budgeting is a leading cause of project creep.
Furthermore, a trap many fall into is neglecting the importance of a detailed grading and drainage plan, especially for additions that alter the landscape. Failing to account for this can result in basement seepage or foundation issues, as explained in grading mistakes. These details might seem minor but are vital for long-term structural integrity.
In my experience, the complexity becomes even greater when combining several aspects—permits, estimates, site conditions—without a clear plan. Overlooking regulatory nuances, such as setback restrictions or tree preservation ordinances, can lead to redesigns or even legal disputes. This is where a holistic approach, involving early consultation with local authorities and professional estimators, becomes invaluable. You may also be surprised how often underestimated costs arise from overlooked minor details, like the necessity for special insulation, fire safety upgrades, or utility upgrades, that aren’t captured in initial bids.
*What about the intricacies of modern building codes and how they evolve mid-project?* Staying current can prevent compliance issues, which is critical because failure to adhere can result in permit refusals or costly amendments. For detailed insights on these evolving codes, consult permit tips for new builds.
So, have you ever fallen into this trap of underestimating or misjudging your project’s regulatory or budgetary nuances? Let me know in the comments below and share your experience. Remember, the key to smooth project execution lies in thorough planning, realistic estimations, and a proactive approach to permits—don’t leave these to chance.
Maintaining Your Construction Arsenal for Longevity and Precision
When it comes to managing home additions or new builds, having the right tools isn’t just about convenience—it’s about ensuring safety, accuracy, and efficiency over the long term. I rely heavily on a combination of high-quality calibration equipment and smart software to keep my projects on track. For example, my laser level, the Leica Disto E7500i, provides precision measurements even over great distances or tricky angles, which reduces errors in framing and layout—saving me time and preventing costly rework. Additionally, I swear by using digital project management tools like Buildertrend; they centralize communications, scheduling, and documentation, making coordination seamless and accessible from anywhere.
How do I maintain these tools to ensure longevity and accuracy?
Regular calibration is essential, especially for laser and measuring devices, which can drift over time. I schedule bi-annual calibration checks, often partnering with certified technicians, to ensure my equipment meets industry standards. For software, I stay updated with the latest versions and back up project data daily—this proactive approach prevents data loss and ensures compatibility with new operating systems. Furthermore, proper storage is critical; I keep tools in climate-controlled cases, avoiding moisture and extreme temperatures that can degrade electronics or lenses. The trend toward smart, connected tools isn’t slowing down, and I predict that integrated diagnostics and predictive maintenance features will become standard in professional-grade equipment, minimizing downtime and unexpected failures. If you’re serious about long-term efficiency, start implementing regular calibration routines and invest in durable, well-maintained devices. This way, your tools serve you accurately for years to come.
Scaling Up Your Maintenance Routine
As your projects grow larger, so should your maintenance strategies. Smaller operations might get away with basic cleaning and occasional checks, but larger builds demand structured schedules and professional servicing. For instance, when expanding into multi-story renovations, I began scheduling quarterly tool inspections, including lubricating moving parts, replacing worn-out batteries, and verifying calibration. These steps dramatically cut down on accidental mistakes during critical phases like electrical or plumbing rough-ins. Setting reminders in your calendar—whether digital or manual—helps keep these routines consistent. Remember, neglecting maintenance can lead to equipment failure mid-project, which stalls progress and increases costs. Investing time now to verify that your tools are functioning at peak performance pays dividends in accuracy and safety later. Looking ahead, I believe the integration of IoT-enabled maintenance trackers will revolutionize how we supervise our tools, providing real-time status updates, predictive failure alerts, and automatic calibration prompts. To prepare for this future, start documenting your maintenance routines now and consider upgrading to connected devices where feasible. Regular upkeep isn’t just about safeguarding your gear—it’s about preserving the quality and safety of your entire build. Ready to take your maintenance game to the next level? Schedule that calibration check next week, and see the difference it makes in your project precision.
Lessons Learned from the Front Lines of Home Building
One of the most significant insights I gained is that every project has its unique quirks—there’s no one-size-fits-all solution, especially when tackling the challenges of hot weather. For example, I once underestimated how quickly concrete could set under the summer sun, leading to cracks that could have been avoided with proper additives and timing. That experience taught me to always anticipate weather conditions and adapt my approach accordingly.
Another lesson is the importance of detailed planning, particularly around permits and estimating costs. I once skipped verifying soil conditions beforehand, which resulted in unexpected foundation issues and costly delays. Since then, I make it a priority to consult [permitting resources](https://constructionedgez.com/navigating-permit-requirements-for-additions-in-2025) early in the process, ensuring I understand local regulations and avoid surprises.
I’ve also learned that maintaining a flexible mindset can save a project. Weather patterns are unpredictable, and having contingency plans—like shade and moisture control—can make the difference between a smooth build and a stressful scramble. Adjusting your strategies as you go, rather than sticking rigidly to a plan, often leads to better outcomes.
Tools I Swear By for Precision and Peace of Mind
Investing in reliable, calibrated tools has been a game-changer. My laser level from Leica ensures exact measurements, crucial when working in extreme heat that can skew perceptions. Stay current with [best calibration practices](https://constructionedgez.com/how-to-maintain-your-construction-tools-for-longevity), as accurate tools save time and reduce rework.
Software like Buildertrend helps me keep track of schedules, changes, and communication, especially when managing multiple aspects of a build. I trust these tools because they are user-friendly and frequently updated, which prevents discrepancies that could lead to permit delays or code violations.
Your Next Step Towards Confident Construction
Embarking on a home project during the heat of summer isn’t just feasible—it’s manageable with the right knowledge, mindset, and tools. Remember, thorough planning, embracing adaptability, and leveraging quality equipment are your best allies in creating durable, safe, and beautiful additions or new builds. Take action today: review your current project plans in light of the tips shared here, and don’t hesitate to reach out if you need personalized guidance or assistance with permits and estimates. Construction success begins with informed choices; make yours now.