How to audit concrete yardage to stop overage charges
It was a hot summer afternoon when I realized I had over-ordered concrete for my backyard project. The truck loads had already arrived, and I was staring at piles of excess material — money wasted and frustration mounting. That’s when I thought, “There must be a better way to avoid this costly mistake.” Since then, I’ve made it my mission to learn how to accurately audit concrete yardage to stop overage charges before they happen. If you’ve ever found yourself wondering whether you’re getting what you pay for on your construction estimates, you’re not alone. Today, I want to share what I’ve discovered so you can confidently manage your project costs and avoid those sneaky overages that eat into your budget.
Why Proper Yardage Auditing Can Save You Thousands
Are You Losing Money Without Even Knowing? Imagine this: You’ve hired a contractor to pour a new patio or foundation, and the bill comes back higher than expected. How can you tell if you’re being overcharged or if the measurements just aren’t right? This question haunted me early on, especially when I realized I’d made the mistake of trusting invoices without verifying measurements. Early in my projects, I simply accepted the estimates provided, assuming they were accurate. That was a costly mistake. It’s easy to fall into the trap of trusting figures, but as I learned from industry experts, overestimating or underestimating concrete yardage can lead to serious financial setbacks (source: https://constructionedgez.com/estimating-costs-for-new-builds-expert-insights). The key is knowing how to audit your yardage effectively. Not only does this prevent overcharges, but it also gives you peace of mind knowing your project is on budget. Now, let’s explore how you can do this confidently and avoid those sneaky charges.Start with Detailed Measurements
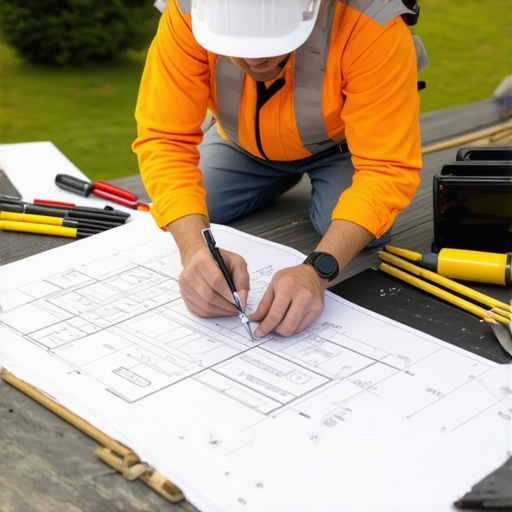
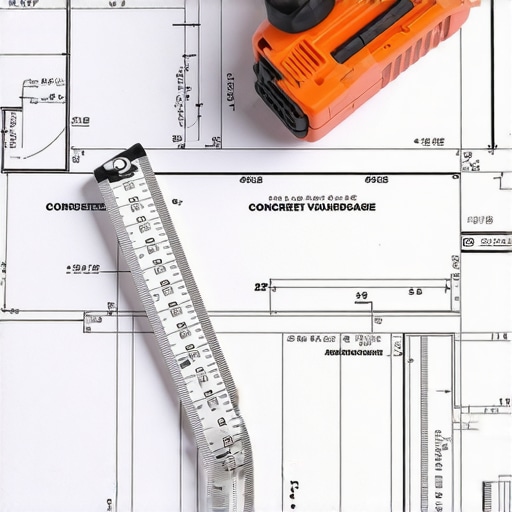
During my first project, I learned the hard way how critical precise measurements are. I grabbed a measuring tape and a notepad, then marked out the intended area for the concrete pour. I measured the length, width, and depth of each section, recording every figure carefully. This step ensures you create an accurate volume estimate and avoid relying solely on contractors’ figures, which can be off. Just like verifying the dimensions of a window opening before framing, double-checking measurements is fundamental to prevent overage charges.
Calculate Your Concrete Volumes
Once measurements are in hand, use the formula: Volume = Length x Width x Depth. For example, if the patio measures 20 ft long, 10 ft wide, and 6 inches deep (0.5 ft), multiply accordingly: 20 x 10 x 0.5 = 100 cubic feet. Convert cubic feet to cubic yards by dividing by 27, resulting in approximately 3.7 cubic yards. This calculation helps you match your estimates to actual project needs, reducing the risk of ordering excess concrete. During a recent build, I used online calculators and cross-checked results to ensure accuracy, which saved me from costly over-ordering.
Use Industry-Standard Estimating Techniques
To improve accuracy, I adopted methods like incorporating waste factors, typically 10% for concrete pours to cover spillage and miscalculations. I also compared different estimates using resources like cost-effective estimating techniques. These methods help identify variances early and refine your order. For complex projects involving multiple sections, I broke down the site into smaller zones, estimating each separately before summing totals, much like assembling a puzzle to see the full picture clearly.
Verify Contractor Measurements
Before accepting any invoice, I physically verified the measurements with my own tools. I watched the contractor’s team as they marked the area, comparing their figures with mine. This step is crucial because, in one case, I caught a discrepancy where their measurement was off by a few inches, which significantly impacted the volume calculation. When in doubt, consulting with experts can provide clarity and help prevent overcharges. Don’t hesitate to ask for detailed plans and coordinate with the crew to ensure everyone is on the same page.
Document and Cross-Check All Data
Keeping a detailed record of measurements, calculations, and communications is key. I used a spreadsheet to track every step, noting the sources of information, the tools I used, and any adjustments. This documentation allows you to cross-check figures and detect errors before they become costly mistakes. When I did this on a recent project, it uncovered an overestimation by the supplier, leading to a refund. This proactive approach empowers you to advocate for fair pricing and stay within budget.
Finalize Orders Based on Verified Data
After thorough verification, place your concrete order aligned precisely with your calculations, adding a small buffer for unexpected variations. For instance, ordering about 4.2 cubic yards for a 3.7 cubic yard estimate provides enough cushion for minor errors. This practice prevents over-ordering and storage issues, saving money and minimizing waste. Remember, good communication with your supplier and clear documentation are pillars of this process. Plus, staying organized means you can easily review your calculations if discrepancies arise later.
Many homeowners and even some professionals often believe that estimating costs and navigating permits are straightforward processes, but the reality is far more complex. A prevalent misconception is that permits are merely bureaucratic hurdles to slow down your project. In fact, proper permit acquisition ensures your build complies with safety and zoning standards, preventing costly legal issues down the line. For example, failing to obtain the correct permits or miscalculating permit fees can lead to significant delays and unexpected expenses. According to industry expert insights, thoroughly understanding the permit process is essential to avoid these pitfalls; you can find comprehensive guidance on navigating permits effectively. When it comes to estimating, many assume that a quick calculation based on square footage suffices, but this overlooks nuances like material wastage, site-specific challenges, and regional cost variations. An advanced mistake many overlook is ignoring the importance of contextual factors, such as soil conditions or existing infrastructure, which can significantly shift costs. This oversight can cause estimates to be artificially low, leading to budget overruns. Expert estimation techniques recommend incorporating contingency buffers and conducting detailed site assessments, aligning with strategies outlined in cost-effective estimates. Additionally, common myths suggest that once an initial estimate is shared, it remains static. In reality, ongoing monitoring and updates are vital, especially as unexpected site conditions surface. This dynamic process ensures that your project remains financially on track and that adjustments are made proactively. Reconciling your estimates with actual costs involves continuous data validation, verifying contractor measurements, and maintaining transparent communication—areas where many stumble due to assumptions or miscommunication. I always advise clients to supplement estimates with detailed documentation and cross-checks, which can prevent costly surprises; this approach is discussed further in mastering estimation strategies. Have you ever fallen into this trap? Let me know in the comments. Understanding these hidden nuances and challenging common myths can dramatically improve your project’s financial and legal outcomes, leading to smoother execution and peace of mind.
Invest in Precision Measurement Instruments
To maintain accuracy over the lifespan of your project, I personally rely on a high-quality laser level. Unlike traditional bubble levels, laser levels provide consistent, exact readings across large areas, which is vital for ongoing adjustments and inspections. I use the Leica Laser Level because of its durability and precision, ensuring my measurements stay accurate even after months of use. Incorporating such tools into your routine simplifies long-term maintenance and helps prevent costly rework.
Utilize Reliable Project Management Software
Managing multiple phases and documentation is crucial. I recommend using Buildertrend, a platform I personally trust for tracking schedules, budgets, and permits. Its cloud-based system allows me to access critical project data from any device, which makes coordinating site inspections or update reviews seamless. As project complexity grows, software like this becomes indispensable for maintaining clarity and accountability, ensuring that all moving parts stay on course over the long haul.
Schedule Routine Site Inspections
Regular inspections are my secret weapon for ongoing upkeep. I set weekly check-ins, making sure that elements like formwork, reinforcement, and embedded utilities are in place and maintained properly. These scheduled reviews help catch potential issues early, avoiding escalation into major problems later. Building a checklist tailored to your project, combined with digital photos stored in your project management tool, streamlines this process and builds a solid maintenance routine.
Keep a Detailed Digital Log
Document everything—measurements, inspections, changes—using digital logs. I personally use Evernote, synchronized across devices, to record each site visit’s findings meticulously. This habit offers a comprehensive history, which is invaluable when scaling or making future modifications. Accurate, accessible records enable quick troubleshooting and ensure continuity even if team members change over time.
Plan for Future Scaling and Upgrades
Thinking ahead, I always design with scalability in mind. Installing modular electrical wiring and flexible plumbing connections allows for easier additions later. For example, including conduit pathways in initial construction simplifies future expansions. This forward-thinking not only reduces costs but also minimizes disruption when you decide to grow your property’s features.
Question: How do I maintain long-term efficiency in my builds?
Maintaining long-term efficiency involves choosing the right tools, regular site reviews, and meticulous documentation. For example, incorporating laser levels for ongoing measurements or using project management platforms like contact us can dramatically improve accuracy and coordination. Additionally, planning for future adaptability, such as pre-installing scalable electrical systems, positions your project for effortless growth. Remember, investing in quality tools and routines now will save time and money during your project’s lifetime. To get started, try integrating a laser level into your next inspection routine and see how it transforms your maintenance process for the better.
Lessons That Changed My Approach to Building Projects
- Overestimating costs can be tempting to avoid surprises, but I learned that precise measurements and calculations save both money and stress, especially in concrete projects.
- Trust but verify—never accept contractor measurements at face value. Physical verification and cross-checking can uncover hidden discrepancies before they cost you.
- Investing in quality measuring tools like laser levels transformed my accuracy, enabling me to catch errors early and avoid costly rework.
Tools and Resources That Elevate Your Estimating Game
- Buildertrend: A reliable project management platform I depend on to track budgets, schedules, and documentation seamlessly across devices.
- Cost-Effective Estimating Techniques: The insightful strategies from this guide have helped me refine my estimates, incorporating waste factors and contingency buffers accurately.
- Laser Levels from Leica: These provide consistent, precise measurements over large areas, vital for ongoing adjustments and ensuring accuracy during long projects.
Your Next Step Towards Smarter Building
Taking control of your concrete yardage estimates isn’t just about saving money—it’s about building confidence and peace of mind in your projects. Implement these insights, harness the right tools, and stay vigilant throughout your construction journey. Remember, the effort you invest in thorough planning today will pay dividends in smooth execution and long-term savings tomorrow. Are you ready to elevate your estimating process and avoid those sneaky overages? Share your experiences or questions below—let’s learn together and build smarter for the future.