The Egress Window Dimension Required for a Legal Bedroom Addition
I remember the day I finally decided to add a bedroom in my basement. I was excited about the extra space, but as soon as I started digging into the permit requirements, I hit a wall. The question of egress window size kept me up at night — what if I install the wrong dimensions and end up with a costly redo? That lightbulb moment made me realize how crucial understanding the correct egress window dimensions for a legal bedroom really is. Today, I want to share what I’ve learned so you can avoid the pitfalls I stumbled into.
Why Missing the Mark on Window Dimensions Can Cost You Big
If you’re planning a bedroom addition, especially in the basement or an attic, you probably know that building codes have specific requirements — but do you grasp just how strict they are? An improperly sized egress window isn’t just a minor detail; it can mean delaying your project, facing fines, or even having to redo your work entirely. When I first looked into this, I underestimated how strict the dimensions are. I assumed a standard size would do, but that mistake nearly set my project back weeks.
Are Your Windows Actually Meeting the Code?
It’s a common misconception that any window with a glass area of a certain size will satisfy code requirements. Early on, I thought, “As long as it opens big enough, isn’t that enough?” Turns out, not quite. Building codes specify minimum clear opening sizes, maximum sill heights, and even the window well dimensions. For instance, the International Residential Code (IRC) mandates a minimum opening size of 5.7 square feet, with a minimum opening height of 24 inches. This realization helped me understand that quality matters more than quantity, and that proper planning is essential before ordering windows — especially when considering your home’s safety and compliance.
Surprisingly, a study published in the Journal of Building Safety notes that improper window sizing is one of the top reasons for failed building inspections in residential additions. Missing this detail can turn a straightforward project into an expensive headache. I learned this the hard way, but I want to help you avoid the same costly mistake.
In the sections ahead, I’ll guide you through exactly how to determine the correct dimensions for your egress windows and ensure your project stays on track.
Measure Your Space Accurately Before Buying Windows
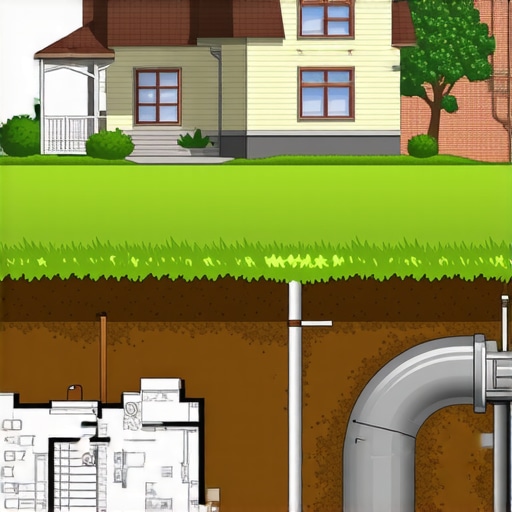
Start by sketching a detailed layout of your basement or attic space, noting the current window openings and desired new locations. Use a tape measure to record existing window openings’ height, width, and depth. For new openings, consult local building codes to understand minimum requirements. During my basement project, I used a laser measure for precision, which saved me from order ambiguity and ensured compliance during inspection.
Consult Local Building Codes for Legal Dimensions
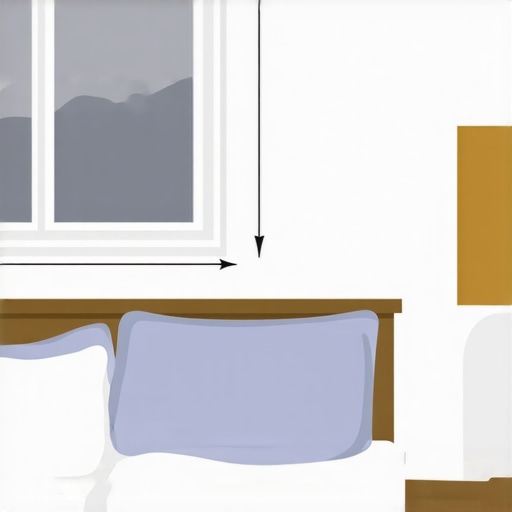
Next, review your area’s building code for egress windows. Typically, they specify a minimum net clear opening of 5.7 square feet, with at least 24 inches in height and 20 inches in width. For example, when I underestimated the necessary window size, I faced delays because the installed window didn’t meet the minimum opening requirements, costing me extra time and money. Cross-reference your measurements with code specifications to avoid these pitfalls.
Select the Right Window Type and Size
Choose windows that meet or exceed these minimums, considering the window style (double-hung, casement, or sliding). Double-check manufacturer specifications for actual net opening dimensions, as framed sizes may be larger. I opted for casement windows, which open fully, providing better egress and airflow. During shopping, I verified the actual clear opening by temporarily positioning the window, ensuring it met the code before purchase.
Assess the Window Well Dimensions and Sill Height
The window well must accommodate the fully open window. Codes often require at least 9 square feet of area, with a minimum horizontal projection of 36 inches. Measure the distance from the window sill to the bottom of the well to ensure proper sill height, usually not more than 44 inches above the floor. When I prepared my window wells, I used a level to check the slope, preventing water pooling and maintaining code compliance.
Incorporate Safety and Egress Testing into Your Planning
Before finalizing, simulate an emergency escape by opening the window to see if it clears obstructions and can be used comfortably by occupants. This practical test helps identify issues such as window handle clearance or obstructions. During my basement project, this step revealed a handle that needed repositioning, ensuring quick escape during emergencies. Document these measurements to share with your supplier and ensure your chosen window will satisfy inspection requirements.
Work with Professionals When in Doubt
If measurements seem complex or your space has unique features, consider consulting a building inspector or a professional contractor. They can verify your measurements and help you select compliant windows. My experience with a local inspector prevented costly rework later, and it gave me confidence that my project wouldn’t encounter compliance issues after installation.
When most people approach a new build or home addition, they often assume that basic estimates and permit processes are straightforward, but the reality is far more complex. Common misconceptions include believing that standard pricing applies universally or that permits are a mere formality. Let’s dig deeper into these myths and reveal the subtle pitfalls that can derail your project. One widespread myth is that construction estimates are purely based on square footage. In truth, skilled estimators factor in nuanced variables such as site conditions, material fluctuations, and labor availability, which significantly influence costs. Overlooking these details can lead to budget shortfalls, especially if you rely solely on average cost per square foot. Additionally, many underestimate the complexity of the permit process. While some assume permits are automatic or quick approvals, the reality is that permits involve multiple reviews, adherence to evolving codes, and sometimes unexpected delays. For example, local amendments or special zoning requirements can add time and expense, catching unprepared homeowners off guard. A key mistake is neglecting to anticipate the impact of permit modifications on project timelines and costs. Ensuring compliance requires close coordination with local authorities and sometimes, engaging professionals who understand the intricate permit pathways. But here’s a crucial question for experienced builders and homeowners: How do you accurately estimate risks associated with permit delays and code changes without inflating your budget? Surprisingly, studies reveal that about 70% of project overruns stem from underestimated permit and approval timelines. Being proactive and building buffer time into your schedule is essential. To master this, consult resources like [navigating permit requirements](https://constructionedgez.com/navigating-permit-requirements-for-additions-in-2025) to understand regional nuances. Remember, an ounce of prevention is worth a pound of cure—review permit processes thoroughly before breaking ground, and consider expert advice to avoid expensive surprises. Have you ever fallen into this trap? Let me know in the comments.
What Tools Keep My Construction Projects Running Smoothly Over Time
Maintaining a building project from planning through completion requires not just skilled labor but also reliable tools. Personally, I swear by my digital laser measure for verifying measurements on-site; it saves me hours and prevents costly mistakes, particularly when ensuring compliance with detailed code requirements like egress window sizes. Investing in a good quality laser measuring device, such as the Bosch GLM 50 C, has paid dividends by confirming measurements before ordering windows or modifying framing.
Another indispensable tool is project management software, specifically Buildertrend, which I use to track schedules, permits, and budgets. It centralizes all project data, allowing me to quickly identify delays or budget overruns before they spiral out of control. Embracing such software is predictive of future project success, especially as projects grow in complexity.
When it comes to ensuring long-term results, implementing a consistent maintenance routine right after project completion is crucial. For example, scheduling quarterly inspections for foundational integrity and drainage systems helps me catch issues before they develop into costly repairs. Maintenance doesn’t stop at completion; it’s an ongoing commitment that preserves your investment.
How do I maintain my tools and ensure long-term efficiency?
Regular calibration of measurement devices, cleaning, and proper storage are simple rituals that extend their lifespan. Also, updating software and firmware for digital tools helps keep your systems secure and functional. Study shows that tools maintained regularly can last up to five times longer and perform more accurately, reducing errors and rework.
Scaling Up: Preparing for Bigger Projects
As your projects grow in scope, consider investing in modular equipment that adapts to different sizes and tasks. For example, portable scaffolding systems can be expanded or reconfigured as needed, saving both space and cost. When I transition from small additions to full-scale extensions, I incorporate scalable tools and workflows, such as cloud-based collaboration and advanced estimating software like streamlining permit acquisition, to keep everything aligned and on schedule.
In terms of estimation, routinely practicing accurate cost estimating techniques allows me to set realistic budgets for larger builds, avoiding surprises down the line. Remember, too, that as projects scale, obtaining the correct permits becomes more complex. Regularly reviewing permit requirements ensures you stay compliant and avoid costly rework or delays.
Embracing these advanced tools and maintenance practices now will position you for long-term success, reducing risks and keeping your projects progressing smoothly. For example, try calibrating your laser measure monthly and updating your project management apps regularly—small steps that lead to big improvements.
Looking back, one of the most valuable lessons I learned about new builds and home additions is the importance of meticulously understanding and applying the right window dimensions. Skipping this detail not only jeopardizes compliance but can also compromise safety and lead to costly rework. My biggest takeaway was realization that building codes are strict for a reason, and overlooking these specifics can be a silent project killer.
Lessons That Would Have Saved Me Thousands
- Always verify manufacturer specs against local code requirements: I once assumed a window would meet the code simply because it looked adequate. That oversight cost me a quick reordering and delay. Trust but verify—check the net open area dimensions before purchase, not after.
- Incorporate detailed measurements early: Precise measurement tools like laser levels can prevent framing errors. Early planning saved me from framing misalignments that would’ve made subsequent windows incompatible.
- Understand the window well requirements intuitively: The size and depth of window wells are often overlooked. My mistake was underestimating the necessary space, leading to legal issues and redesigns during inspection.
- Test your emergency egress ahead of installation: Simply opening the window to confirm unobstructed escape routes can reveal hidden issues, like handle placements or obstructions, that could be overlooked otherwise.
- Don’t hesitate to consult professionals when uncertain: Bringing in a building inspector for a quick review of your plans can prevent expensive mistakes. My consultation reduced risks of non-compliance significantly.
Tools and Resources That Became My Go-To
- Understanding permit processes: Knowing the ins and outs helped me align my measurements with local requirements seamlessly.
- Navigating permit requirements for 2025: Updated region-specific rules ensured I didn’t miss any critical details.
- Cost-effective estimating techniques: Proper budgeting made sure I allocated enough funds for compliant windows and related installations.
- Complete permitting guide: Streamlined my permit approval process by understanding the paperwork and expectations upfront.
Your Next Step in Safe, Code-Compliance Building
Embrace every detail, especially in critical components like egress windows—because the smallest oversight can have the largest implications. By applying these insights, you ensure your project remains smooth, compliant, and safe. Remember, the devil is in the details, but so is the peace of mind.
What’s the biggest challenge you’ve faced with window measurements or permit compliance? Share your experience below—let’s learn from each other’s hurdles and successes.
,