How to Calculate Real Disposal Fees for New Builds
I remember the first time I tried to estimate disposal fees for a new construction project. I was gung-ho, eager to keep my budget tight, but I ended up underestimating by thousands. The failure was a lightbulb moment—those hidden disposal costs can sneak up faster than you think, especially if you’re not paying close attention.
If you’ve ever sat down with a stack of permits and cost estimates, wondering where your numbers went awry, you’re not alone. Many DIY homeowners and even seasoned builders stumble here. The key? Knowing exactly how to calculate the real disposal fees for your new build or additions. Today, I promise to walk you through the steps to make this process transparent, so you’re never left with surprise charges again.
Why Get Disposal Fees Right the First Time
Disposal fees are often glossed over in project estimates. But they can become a major line item, especially when dealing with demolition debris, excess materials, or construction waste. Misjudging this not only blows your budget but can also delay your project if permits are held up due to unbudgeted waste management costs.
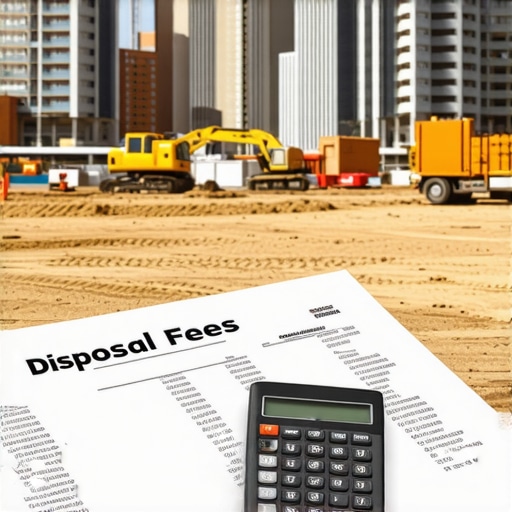
From my experience, the most overlooked part is understanding the weight and volume of your debris and how local disposal facilities charge—by weight, volume, or a combination of both. A miscalculation here can mean the difference between a smooth project and a stressful scramble to cover extra costs. To get this right, you need to know your local disposal regulations and rates. For example, some municipal facilities charge flat rates for small loads but escalate quickly for larger ones.
For detailed guidance on navigating permit requirements—which directly influence waste disposal—consider visiting [Permitting for New Builds and Additions](https://constructionedgez.com/permits-for-new-builds-essential-tips-for-your-project). This resource walks you through the permit process, which includes waste management considerations.
Many new builders jump straight into ordering materials but forget to factor in waste disposal, leading to cost overruns. Luckily, with a little planning, you can accurately estimate these costs upfront, avoiding costly surprises. That’s what we’ll cover next.
But first, have you ever faced unexpected disposal fees that threw your project off course? If so, you’re not alone, and the good news is—you can prevent that from happening again.
Break Down Your Waste Before You Build
Imagine estimating a dinner party and forgetting the amount of trash generated. You’d likely guess wrong and end up with overflowing bins or leftover disposal costs. Similarly, start by analyzing your project’s scope to identify the types and quantities of debris you’ll produce—such as old insulation, concrete scraps, or packaging materials. During my last renovation, I visited the local disposal facility to gauge rates firsthand, which was eye-opening. This experience underscored the importance of understanding local disposal regulations.
Measure Debris Accurately to Avoid Surprises
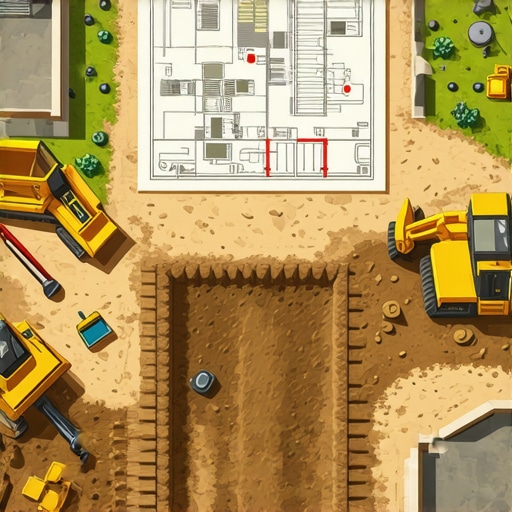
Think of estimating waste like packing a suitcase—overpack and you’ll pay extra; pack light and risk missing essentials. Use detailed plans to estimate volume and weight of waste. For example, if you’re removing a wall, estimate the drywall and framing materials separately. When I planned a garage addition, I calculated the cubic yards of concrete debris from blueprints, then checked municipal rates. This step ensures your estimates reflect real conditions, preventing budget overruns.
Research Local Disposal Facilities and Fees
Rates vary wildly—some charge flat fees, others by weight or volume. Contact local landfills or transfer stations to get precise rates and permitted waste types. During my project, I discovered that using a nearby transfer station significantly reduced costs compared to a distant landfill. Additionally, some facilities charge extra for special materials, like contaminated soil or hazardous waste, so clarify these details early. Knowing these nuances allows you to plan financially and avoid unexpected bills.
Calculate Your Actual Disposal Costs Step-by-Step
Approach this like balancing a checkbook. First, determine the total debris volume, convert to weight if necessary, then multiply by the local rate. For example, if you estimate 10 cubic yards of waste and your local facility charges $60 per ton, convert cubic yards to tons (roughly 1.5 tons), then estimate your cost at around $90. Don’t forget to include potential surcharges for bulky or special waste. In my recent experience, this detailed calculation prevented a last-minute overspend when adjusting for unforeseen debris.
Incorporate Disposal Fees into Your Budget Early
Think of this as setting aside reserve fuel for a long journey—anticipate the unexpected. Add a contingency line item—say, 10-15% of your total waste estimation—to your overall project budget. During my most recent build, allocating extra funds for disposal costs helped me stay on track even when actual debris was higher than initially calculated. This proactive step means fewer surprises and smoother project management.
Stay Updated on Permitting and Regulations
Disposal rules often change, much like traffic laws—staying informed can save you from fines or delays. Review the permitting requirements regularly, especially when working in different jurisdictions or expanding project scope. Resources like this guide can help clarify local compliance needs. Being proactive ensures your waste management complies with all regulations, avoiding costly halt orders or violations.
Utilize Tools and Technology for Precision
Think of software as your project GPS—keeping you on route. Use estimating tools or spreadsheets to track debris estimates versus actual disposal costs as you go. In a recent project, I used a simple spreadsheet to compare my initial projections against real invoices, which improved my accuracy for future builds. Reliable data collection aids in refining your estimation process, making each project more cost-effective.
Review and Refine Your Approach After Each Project
Just like reviewing a recipe after baking, evaluate what worked and what didn’t. After completing a build, analyze the accuracy of your waste estimates and disposal expenses. Note any discrepancies and sources of unforeseen waste. This reflection helps improve your next estimate, much like I did after a deck addition project where I underestimated leftover framing material, leading to adjustments in my planning and budgeting.
Many assume that permit processes and cost estimations are straightforward steps. However, in my experience, there’s a prevalent misconception that getting permits is merely about submitting paperwork and waiting. The truth is, the nuances of local regulations and permit requirements can significantly impact your project’s timeline and budget, especially when overlooked or misunderstood. A common mistake is underestimating the complexity of the permit approval process, which varies widely between jurisdictions—and even within different departments of the same city. This oversight often leads to delays and unexpected costs, derailing schedules and inflating budgets. For example, many neglect to account for necessary pre-permit inspections or special approvals needed for specific types of additions, such as basement conversions or garage expansions. These are details that a seasoned builder or an experienced homeowner should anticipate early on. Moreover, many underestimate the importance of aligning their project scope with current zoning laws and building codes, which are constantly updated. Failing to do so may necessitate costly redesigns or even permit rejections. To master this aspect, I recommend reviewing comprehensive resources like [this guide on permitting for new builds](https://constructionedgez.com/the-complete-guide-to-permitting-for-new-builds-and-additions), which details the latest regulatory requirements. Taking the time to understand these rules upfront not only avoids costly rework but also accelerates your project approval. Another common misconception is about estimating costs—many believe that a high estimate is a buffer or a safety net. In reality, vague or inflated estimates can obscure your project’s true expenses and lead to poor decision-making. Detailed, accurate estimates are vital, especially when factoring in permit fees and inspection costs, which can be surprisingly substantial. Utilizing dedicated estimating tools or consulting with seasoned professionals, as explained in [expert insights on project budgeting](https://constructionedgez.com/estimating-costs-for-new-builds-expert-insights), can significantly improve accuracy. An advanced tip is to factor in potential permit delays and required revisions into your schedule and budget, which many overlook until it’s too late. By proactively planning for these hidden delays, you can avoid costly hold-ups. Remember, permits are not just bureaucratic hurdles—they are integral to ensuring your project complies with safety standards and local regulations. Ignoring this can lead to fines, stop-work orders, or even legal issues, which are far more costly than the initial permit fees. To streamline your process, consider leveraging online permit management tools or engaging experienced consultants—resources that can point you toward [permitting tips for seamless approvals](https://constructionedgez.com/permit-approval-tips-for-seamless-home-additions). Make no mistake: mastering the permit and estimation intricacies can give you a competitive edge, reducing risks and saving money over the lifespan of your project. Have you ever fallen into this trap? Let me know in the comments.
Reliable Tools Make the Difference
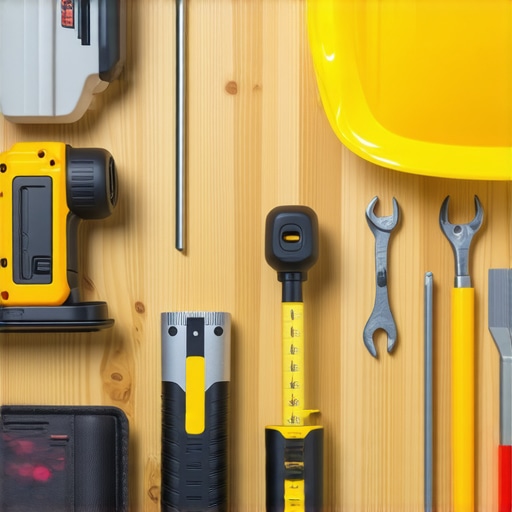
One of my top priorities on any project is ensuring my tools are up to the task. I swear by a high-quality rotary hammer like the Bosch Bulldog Xtreme, which has saved me countless hours when breaking through concrete or dense materials. This tool’s durability and power mean I can tackle tough demolition jobs without worrying about breakdowns mid-work. For measuring, I rely on a Bosch GLM 50 C laser distance measurer, which allows me to quickly and accurately gauge room dimensions or material sizes on-site. Its Bluetooth capability also lets me sync measurements directly to my tablet, streamlining the process and reducing errors.
Software That Keeps Everything on Track
Nothing beats using dedicated estimating and project management software to stay organized. I personally develop detailed budgets and schedules using Buildertrend, which integrates cost estimates, change orders, and scheduling into a single platform. It helps me visualize project timelines and forecast potential bottlenecks, especially when aligning permit processes and material deliveries. Additionally, tools like PlanGrid enable me to access up-to-date blueprints and collaborate with team members on revisions in real-time, reducing miscommunications—crucial for maintaining a smooth workflow and avoiding costly rework.
Regular Maintenance Pays Off
Maintaining your equipment isn’t just about safety; it’s about ensuring long-term performance. I set weekly check-ins to inspect my power tools, replacing worn brushes on my angle grinder and lubricating saw blades to prevent overheating. Sharpening blades periodically also ensures cleaner cuts and reduces motor strain. For larger machinery, I schedule professional servicing twice a year, addressing issues before they cause costly downtime. Small investments in tool maintenance extend their lifespan significantly, ultimately saving money and keeping projects moving comfortably forward.
How do I keep construction equipment in prime shape over time?
Developing a routine maintenance schedule tailored to your tools and machinery is vital. This includes cleaning after each use, checking for loose parts, and replacing consumables like filters and belts as recommended by the manufacturer. Keeping detailed records of maintenance activities can also help predict when parts might need replacing, avoiding unexpected failures. Investing in quality protective cases and proper storage prevents damage and prolongs equipment life, which is especially important when managing multiple job sites or scaling your operations.
Looking ahead, I see the trend moving toward smarter, IoT-enabled tools that can self-diagnose issues and alert you proactively. Embracing these innovations now will give you a competitive edge in maintaining a reliable toolkit. As a practical tip, try adopting a digital inventory system that tracks your tools’ use, maintenance history, and upcoming service needs—this small step can drastically improve your long-term operational efficiency.
Remember, sticking to a disciplined maintenance regimen for your tools and equipment isn’t just about safety. It’s about ensuring your projects stay on schedule and within budget. To learn more about streamlining your equipment maintenance, check out this resource for tips designed specifically for construction professionals.
Take this proactive approach today—schedule a maintenance check for your most-used tools, and watch how it minimizes downtime and surprises in your upcoming projects.
Lessons That Changed How I Estimate Waste Fees
In my early days of construction, I underestimated how much debris would pile up, leading to surprise costs and delays. I learned that every project’s waste profile is unique, and presuming standard rates can backfire. One key insight was always scanning the local disposal facilities for fee structures—what seems cheap upfront can hide hidden surcharges, especially for hazardous or bulky waste. Additionally, I realized that my initial volume estimates for debris were often overly optimistic; measuring actual materials was essential for accurate disposal fees. This practical adjustment saved me thousands and kept my projects on schedule.
My Must-Have Resources for Accurate Budgeting
To navigate the complexities of waste disposal and permit intricacies, I lean on a few trusted tools. I always check this permit guide for updated regulations, which prevents costly reapplications. For estimating waste volumes, I use a combination of blueprints and digital measurement tools like laser measurers, which streamline accuracy. When calculating disposal costs, I rely on local landfill websites and cost estimation articles, ensuring I factor in all potential charges upfront. These resources help keep projects financially sound and compliant.
Your Next Step in Construction Confidence
Taking control of disposal fees and permit planning isn’t just about budgeting—it’s about empowering your entire construction journey. The more diligent you are now in understanding local regulations, accurate debris measurement, and strategic waste management, the smoother your project execution becomes. Remember, each project teaches new lessons—embrace them, adapt your plans, and confidently tackle future builds. Your craftsmanship and foresight can transform challenges into opportunities for excellence.
What’s your biggest challenge with estimating waste or navigating permits? Share your stories below, and let’s learn together!
.